Technical Data
Connect water in
DN25, Male BSP or NPT thread
Connect the water out
1/2” or 3/4” Female NPT thread
Inner Diameter
25mm or 28mm
Tube length
700mm(28”), 1,000mm(40”), 1,200mm(47”), 1,500mm(59”), 1,800mm(1”), and other sizes available upon request.
Support rod length
700mm(28”), 1000mm(40”), and other sizes available.
Working pressure
200 psi (13.8 bar)
Maximum Temperature
300°F (149°C)
Minimum Bending Radius
3 inches (76mm)
About Flex Drop Yong Won
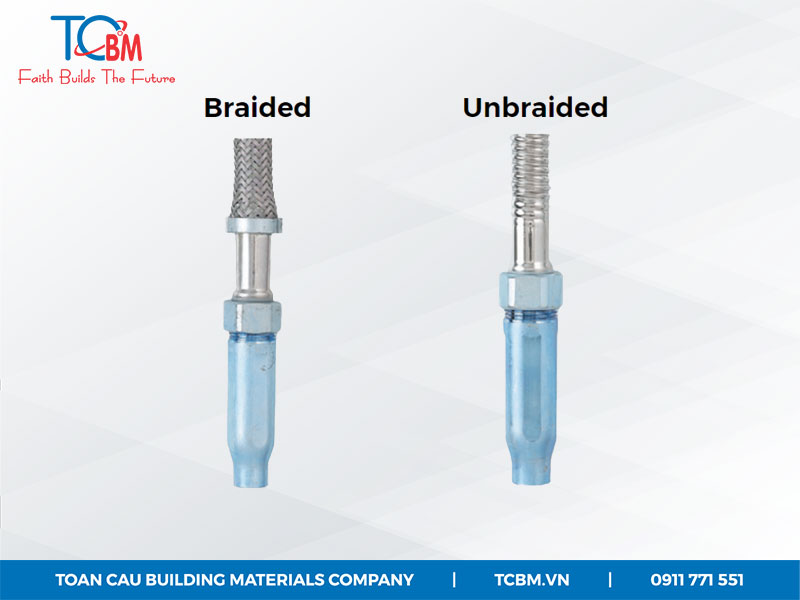
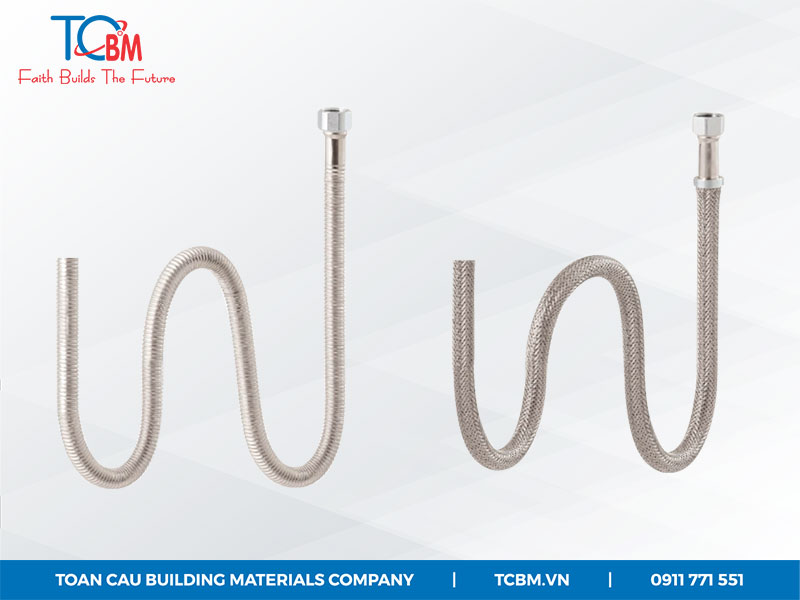
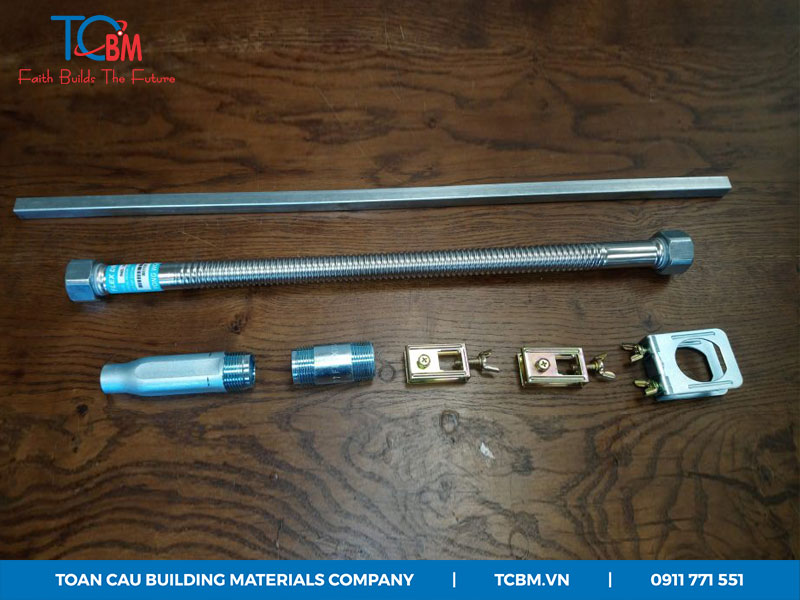
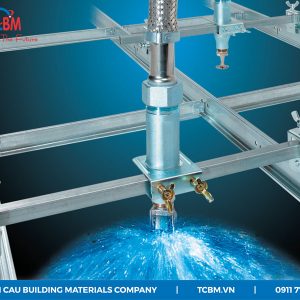
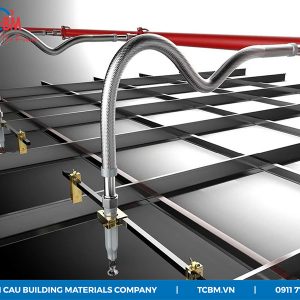
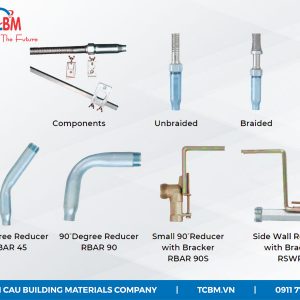
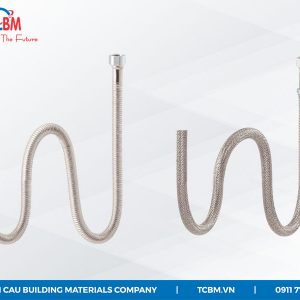
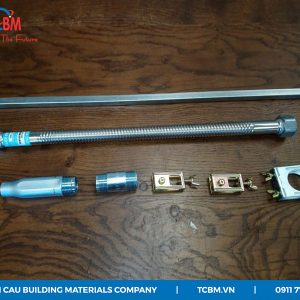
Flex Drop is a unique sprinkler drop assembly comprised of the followings: adapter nipple, stainless steel flexible hose, sprinkler reducer and light-weight ceiling mounting parts. Flex Drop can be installed easily without machines and power tools in all standard ceilings. Flex Drop makes it possible to test and charge the systems with water before the ceiling is in position, the Flex Drop hoses can be reshaped to suit the final sprinkler location without draining the system.
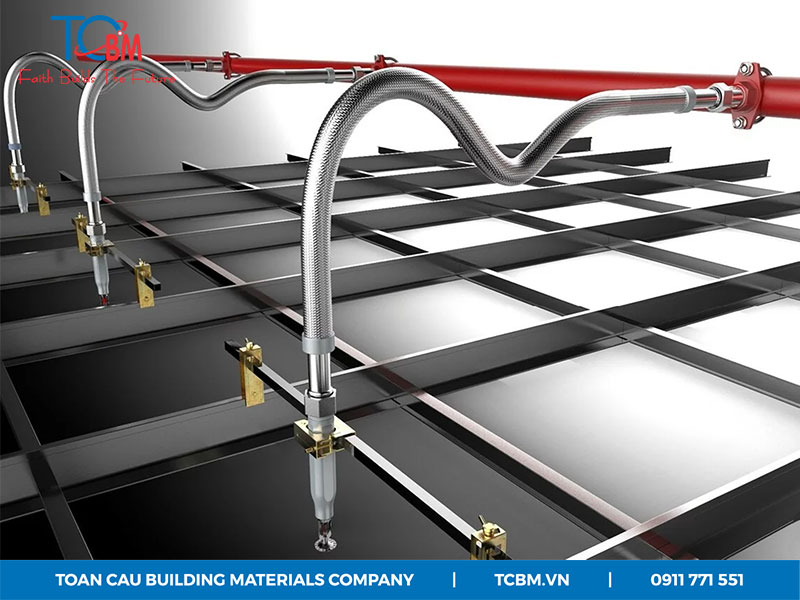
Flex Drop Yong Won Fire Resistant Flexible Hose
We are a leading manufacturer of flexible sprinkler hoses for more than 25 years and exporting Flex Drop to Europe, Asia, the Middle East, Australia and the USA. Tyco Building Supply is our distributor for all European Countries and we have distributors in all major countries around the world.
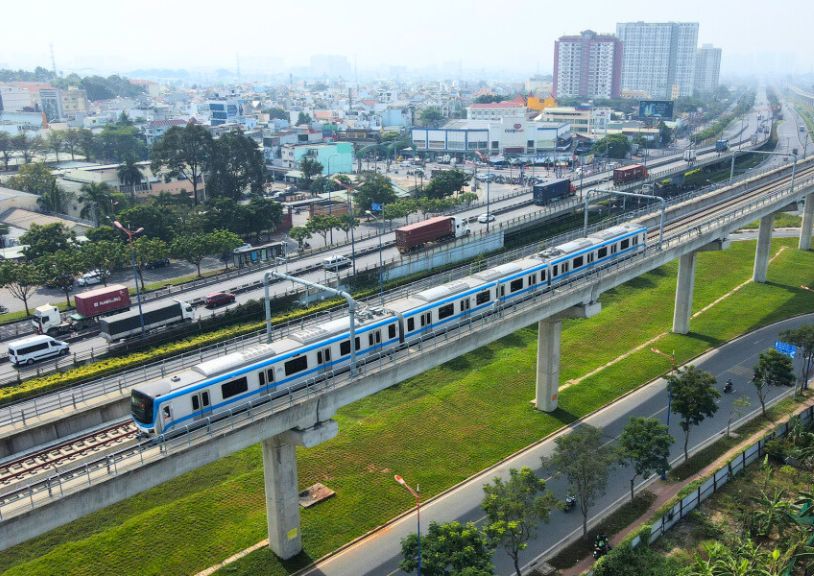
Our Flex Drop was installed in the tallest building in the world, Taipei 101 tower, airports and subways in Singapore, Korea, and Australia and major building projects, hospitals, shopping centers and government buildings around the world.
Flex Drop is listed by the new UL 2443 and approved by FM. Flex Drop also holds approvals from VDS in Germany, LPCB in UK and SSL in Australia.
We also make flexible sprinkler systems for exhaust ducts and clean rooms. All of our products for clean rooms and industrial ducts are approved by FM and widely used to protect semiconductor factories and other high-technology facilities in Korea, Singapore and other countries.
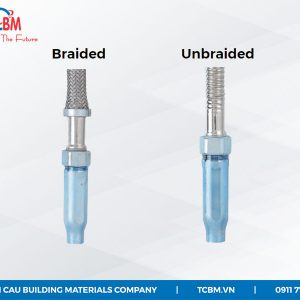
Flex Drop Yong Won Component
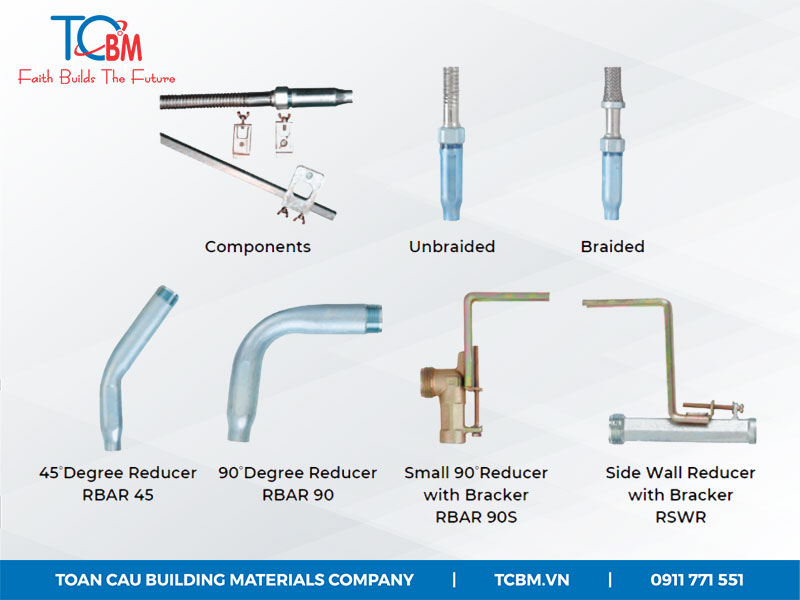
Flex Drop Yong Won Component
Benefits
Economy: Savings in labor cost, no need for equipment, machines and power tools.
Time Savings: 4 times faster compared to traditional hard pipe installation
Safety: Less risk of water damage (once water is charged in the rough-in stage, no drain is necessary). No fumes, smoke, noise, or accidents from machines.
Convenience: Eliminates work inconvenience. Easier to bend and maneuver in congested ceiling space and adjustments can be made easily.
Reusable and construction advantage: Flex Drop system can be re-installed in another area if the system needs to be dismantled. Adjustments can be made to ceiling levels after installation without impacting sprinklers and drops as well.
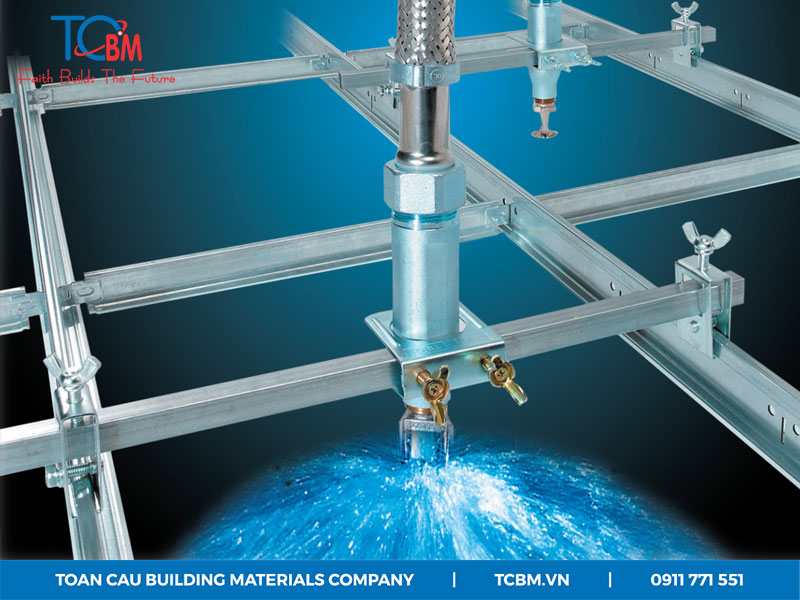
The flexible hose connecting sprinkler heads
Installation instruction
Step 1.
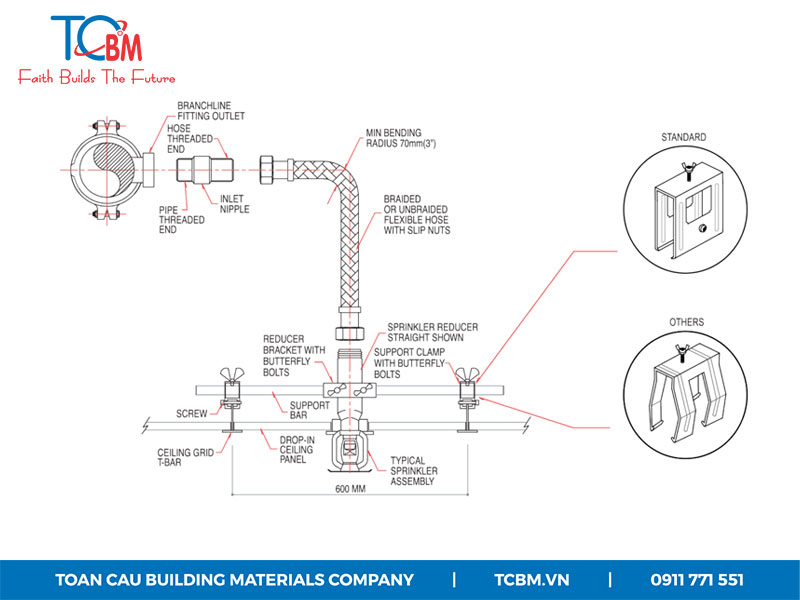
Determine the place where the sprinkler head will be located. The standard bar is 700 mm (28 inches) long and shall be mounted on the 600 mm (24 inches) ceiling grid. The sprinkler should be located as close as possible to the center of the distance between ceiling grids.
Step 2
Slide the reducer bracket onto the cross-support bar. Loosely attach the reducer bracket and two clamps on the support bar and place the clamps onto the ceiling grid so that the support bar crosses the location where the sprinkler will be located.
Step 3
Separate the nipple (if necessary) from the flexible hose and attach the nipple to the branch line. Make sure that the arrow is in the appropriate direction of flow to the sprinkler and use pipe thread sealant at the connection to the branch line. Attach one end of the flexible hose onto the nipple and tighten the slip nut to a maximum torque of 25 ft-Ib. Do not twist the flexible hose.
Step 4
Bend the flexible hose into a curve that locates the sprinkler reducer at the other end of the flexible hose in the area where the sprinkler will be located. The tube arc should not be twisted and the arc should be as large and smooth as possible. The minimum bending radius is 3 inches (76 mm).
Step 5
Insert the sprinkler reducer into a bracket. Locate the reducer bracket and sprinkler reducer where the sprinkler will be, and loosely tighten the butterfly bolts on the bracket.
Step 6
Attach the sprinkler to the sprinkler reducer. Put a wrench on the sprinkler reducer to counteract the tightening torque and prevent the flexible hose from twisting. Reference the sprinkler manufacturer’s sprinkler data sheet for appropriate sprinkler tightening torque, sprinkler wrench and other guidance.
Step 7
Verify that the sprinkler reducer is seated in the reducer bracket and precisely locate the sprinkler in all three axes by the sprinkler manufacturer’s datasheet. Tighten all butterfly bolts and hex bolt-on clamps and brackets. The torque requirements for butterfly bolts are a minimum of 40 in-lb and a maximum of 50 in-Ib. The torque for the hex nut is 20 in-Ib.
Step 8
After tightening all the bolts, verify that the sprinkler is properly located by the manufacturer’s instructions. If not, loosen the butterfly bolts and readjust as required.
Contact TCBM at hotline 0911 771 551 for advice and quotation.

 Tiếng Việt